The AeroPress is a coffee-lover’s dream. Compact, portable, and endlessly versatile, it’s the go-to tool whether you’re brewing at home or on the go. With just a little effort, you can enjoy a smooth, rich cup—free from bitterness or grit. This guide will walk you through the process step by step, breaking down every detail to make your perfect brew achievable. Get ready to unlock flavors you didn’t know were hiding in your coffee beans.
What You’ll Need
Before diving into AeroPress brewing, gather a few essentials. Having the right tools makes the process smoother and ensures you get the best flavor from your beans. First up, your AeroPress kit: it includes the chamber, plunger, filter cap, and paper filters. Rinsing the paper filter before brewing is a small but important step—it helps avoid any hint of papery taste.
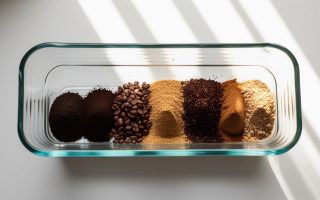
Next, choose your coffee beans. Opt for freshly roasted beans and grind them just before brewing. A medium-fine grind works best for the AeroPress, giving you the perfect balance of extraction without clogging the filter. You’ll also need a kettle for heating water. Aim for 93°C (200°F)—that’s just below boiling—for the ideal temperature to bring out coffee’s delicate notes without burning it.
Don’t forget your scale to measure the coffee (start with 14 grams for one cup), and a timer to keep track of brewing time. A stirring stick or spoon will come in handy to mix the grounds. And finally, choose your favorite mug—because coffee tastes better when served just right. Once everything is lined up, you’re ready to start brewing and enjoy a cup that’s fresh, smooth, and tailored to your taste.
Step-by-Step Brewing Process
Step 1: Assemble the AeroPress
Start by placing the paper filter inside the filter cap, then rinse it with hot water to remove any papery flavor. Screw the filter cap onto the chamber and place it on top of your favorite mug. This little prep goes a long way in ensuring your coffee tastes clean and smooth.
Step 2: Add Ground Coffee
Measure 14 grams (about one rounded scoop) of freshly ground coffee, ideally at a medium-fine grind. Pour it into the AeroPress chamber, spreading the grounds evenly. This step is where your coffee journey truly begins.
Step 3: Pour the Water
Heat your water to about 93°C (200°F) and pour it over the grounds, just enough to wet them all. Let it sit for 30 seconds to bloom—this releases trapped gases and preps the grounds for proper extraction. After blooming, pour more water up to the desired level.
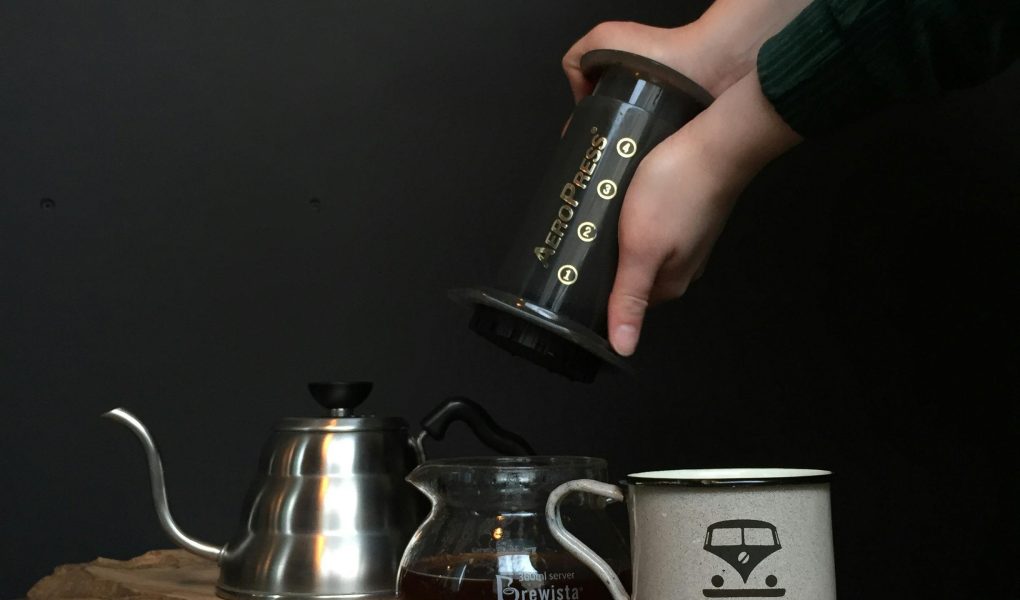
Step 4: Stir and Press
Use a spoon or stir stick to gently stir the mixture for 10-15 seconds. Next, insert the plunger into the chamber and press down slowly but steadily. You should feel a bit of resistance—that’s how you know it’s working. Stop pressing when you hear a hissing sound.
Step 5: Enjoy Your Coffee
Remove the AeroPress, give your coffee a quick stir, and enjoy! If the brew is too strong, you can dilute it with a bit of hot water to match your taste. Cleanup is a breeze—just pop out the used grounds, rinse everything, and you’re ready for your next cup.
Tips for the Perfect Brew
Mastering the AeroPress is all about small tweaks that unlock big flavors. Start by experimenting with your coffee-to-water ratio—14 grams of coffee to 200 ml of water is a good starting point, but don’t be afraid to adjust it to suit your preferences. If the coffee feels weak, try a finer grind; if it tastes bitter or takes too long to press, go coarser.
Water temperature is also key. Aiming for 93°C (200°F) prevents the coffee from tasting burnt. If you don’t have a thermometer, let boiling water sit for 30 seconds before pouring. Timing your brew makes a noticeable difference, too—try a 1 to 2-minute total brewing time to bring out balanced flavors.
Stirring evenly can help ensure the grounds extract properly. Too vigorous, and you risk over-extracting; too light, and you may miss some depth. For a cleaner taste, consider using metal filters instead of paper—they allow natural oils to pass through for a richer cup.
Finally, don’t forget to enjoy the process. The beauty of the AeroPress lies in its flexibility—experiment with inverted brewing or make espresso-style shots. Once you’ve found your sweet spot, you’ll have a reliable go-to method for great coffee, every single time.
Troubleshooting Common Issues
Issue: Coffee Tastes Weak
This usually means the grind is too coarse or the coffee-to-water ratio is off. Try using a finer grind or adding more coffee grounds to strengthen the brew. Adjusting the amount of water can also make a difference—less water, more concentrated flavor.
Issue: Coffee Is Too Bitter
Bitter coffee could be caused by over-extraction. Use a coarser grind, or shorten the brewing time. Additionally, check your water temperature—if it’s too hot, it can scorch the grounds. Aim for just below boiling, around 93°C (200°F).
Issue: Plunger Feels Stuck or Hard to Press
If pressing the plunger takes too much effort, the grind may be too fine, or the filter could be clogged. Switch to a coarser grind, and ensure the filter is rinsed well before brewing. Press slowly to prevent pressure buildup.
Issue: Leaking During Brewing
This happens when the filter cap isn’t securely attached. Double-check that the filter cap is tight and the paper filter is properly seated.
Issue: Cleanup Feels Difficult
After brewing, give the chamber a quick rinse right away. If the coffee puck doesn’t eject easily, it might be too wet—next time, let the AeroPress rest upside down for a moment before pressing out the grounds.
With these simple fixes, you’ll be back to brewing smooth, flavorful coffee without frustration.
Conclusion
Brewing with an AeroPress is all about simplicity, experimentation, and enjoying the process. Whether you’re chasing the perfect morning cup or refining your afternoon ritual, the AeroPress offers flexibility that suits all coffee lovers. With a few thoughtful tweaks—like adjusting your grind size, water temperature, or brewing time—you’ll unlock layers of flavor that bring out the best in your beans.
The beauty of the AeroPress lies not just in its ability to deliver smooth, grit-free coffee but also in the control it gives you over every detail. It’s a method that grows with you. As you experiment and find your ideal brew, each cup becomes a small victory—a reward for time well spent crafting something truly your own. Whether you prefer a bold espresso-style shot or a light and bright brew, the AeroPress gives you the tools to get there.
So, don’t rush. Enjoy the process, play with different techniques, and most importantly, savor the result. Once you find that sweet spot, the AeroPress may just become your favorite brewing method—because nothing beats a cup of coffee made just the way you like it.